|
|
Basic Requirements: |
|
An active high-speed Internet connection (Cable or DSL: dial-up is not high-speed and is not covered in this setup) |
|
A cable modem or DSL modem (usually provided by your Internet Service Provider) |
|
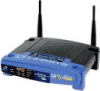
A
wireless access point (sometimes called a wireless router)
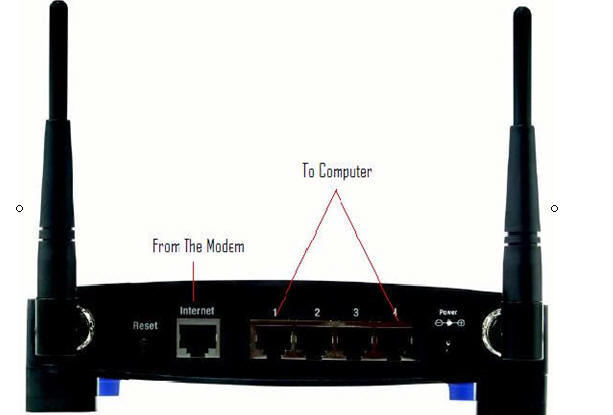
Installing A Wireless Router. All routers come preconfigured to work with a DHCP network like Eagle Cable Internet, so you will not need the CD that comes with your router. Hooking First run a network cable from the modem into the internet port on the back of the router. Then connect the power cable. Finally, run an additional network cable from any one of the ports labeled 1-4 to the computers. (If the router has been used with a different internet provider, it is a good idea to reset the router. Do this by holding down the reset button for a few seconds.) Any computers that are connected directly to the router should connect automatically after a restart. |
|
Preparations: |
|
Step 1: Ensure your computer is turned on (If using a wireless PCI card, make sure it is installed in the computer while the computer is turned off.) |
|
Step 2:
Ensure your wireless access point (wireless router) has a
Network Key already setup
and is connected to the cable modem or dsl modem and turned
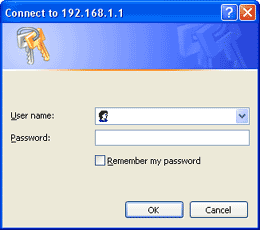
on. Note: You can configure most routers by typing http://192.168.0.1 or http://192.168.1.1 in the Web browser's (Internet Explorer, Netscape, etc.) Address bar. |
|
|
|
|
|
|
|
Check your router's documentation (usually included on the CD that came with your router) for information on how to setup your particular router's network key or call your router's manufacturer for assistance. |
|
Step 3: Ensure your Internet connection is functioning properly (Of course the best way to test it, is with another computer that is already connected wirelessly or an ethernet cable connection). |
|
Step 4: Ensure your wireless card or adapter is installed in your computer and turned on. (Most newer notebooks have built-in wireless adapters - ensure the wireless switch that is physically located on the notebook is turned on). |

|
Note:
If the Wireless Connection icon ( |
|
|
|
Setting up the wireless connection: |
|
Step 5:
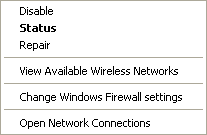
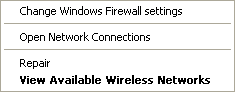
With the right mouse button,
click on the Wireless Connection icon ( |
|
Step 6:
With the left mouse button, click on View Available Wireless
Networks in the applicable popup menu |
|
Step 7:
In the left panel, under 'Related Tasks', click 'Change
the order of preferred networks'
If your network appears in the box under 'Preferred networks', continue with step 8, otherwise skip to step 10. |
|
Step 8:
In the box under 'Preferred networks', click to select your
network (SSID). |
|
|
 or
Not connected
or
Not connected
 ,
respectively ).
,
respectively ).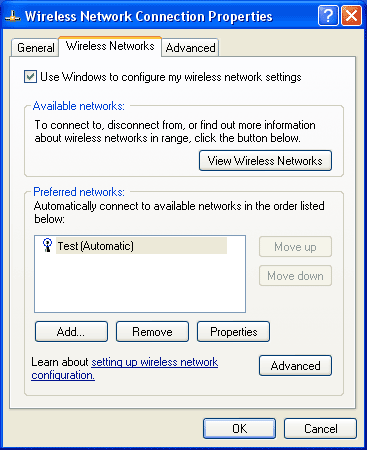
|
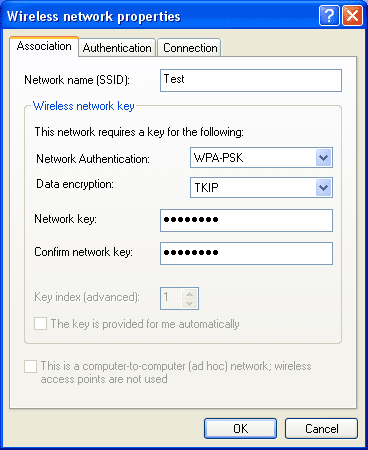
Step 11:
To the right of 'Network name (SSID):', type the SSID
(the name of your network - for example: wireless) in
the text box. |
|
|
|
Do NOT click the 'View Wireless Networks button'! If you do, and you choose 'Yes', you will lose all the settings you just made for the added network, and you will have to start all over. |
|
Step 18: Click the 'OK' button. |
|
|
|
|
|
Step 19:
Be patient - in a few seconds the wireless icon will begin animating
|
|
Step 20: Ensure your Firewall is properly configured for Internet access and turned on! |

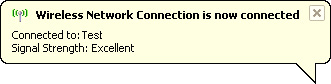 notifying
you of the connection status. It will display the name of the
network it is 'Connected to' and the 'Signal Strength'.
notifying
you of the connection status. It will display the name of the
network it is 'Connected to' and the 'Signal Strength'.Step 21: Open your Internet browser and surf the web safely, securely and wirelessly!
|
FYI section: |
|
|
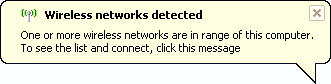
This PopUp
|
|
|
Troubleshooting a Wireless Connection with Windows XP SP2 installed: |
|
|
|
|
|
Problem: Unable to establish a wireless connection to your network |
|
|
|
|
|
Symptoms: |
|
|
1. Red x on the wireless network icon. |
|
|
2. PopUp: Unable to connect to wireless network. |
|
|
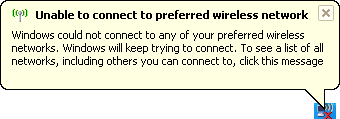
3. PopUp: Unable to connect to preferred wireless network. |
|
|
4. Mouse-over the system tray wireless network icon displays "Not connected". |
|
|
5. ipconfig/all displays "Media state: Media disconnected". |
|
|
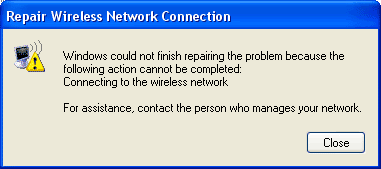
6. Clicking on "Repair" and getting the message: "Windows could not finish repairing the problem because the following action cannot be completed: Connecting to the wireless network. For assistance, contact the person who manages your network.". |
|
|
|
|
|
Most likely cause(s): |
|
|
Incorrect wireless network key settings - one or more of the following settings are incorrect: |
|
|
1. Network Authentication. |
|
|
2. Data encryption. |
|
|
3. Network key. |
|
 indicates
your wireless card is functioning, even if you are unable to
connect to your wireless network - your settings are incorrect!
indicates
your wireless card is functioning, even if you are unable to
connect to your wireless network - your settings are incorrect!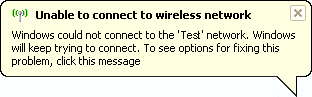

|
Other possible causes: |
|
|
1. Firewall - improperly configured (not allowing communication between the devices). |
|
|
2. Router - improperly configured (not allowing communication between the devices). |
|
3. Cable modem or DSL modem - improperly connected to the Router (wrong port). The correct port is commonly named 'Internet' or 'Online', and usually does not have a number, i.e 1, 2, 3, or 4. So, if the ethernet cable from the Cable modem or DSL modem is plugged into a port on the back of the router with a number, it is in the wrong port.
|