![]()
Installation of vista can be done in a few ways: You can upgrade, or install a
new copy. There are other ways of installation such as automatically installing
over a network from a customized image or from a customized image on some type
of media such as a DVD or external hard disk. The Installation below was done on
a new pc using the Ultimate versions of Window Vista. Start off by booting up
the pc with the Windows Vista CD, you may have to wait a minute until the cd
loads files to take you to the setup environment. If you have been unable to
boot from the cd, you may want to access your BIOS settings (the first few
screens you see as your pc loads up) which can be done usually by pressing the
DEL key (Delete) or F1 however you should be able to find out the correct key as
your pc starts up. Once you are in the BIOS settings just choose the boot up
procedure to start by booting up with the cd-rom or DVD-rom drive and then the
hard disk, this should allow you to boot up with 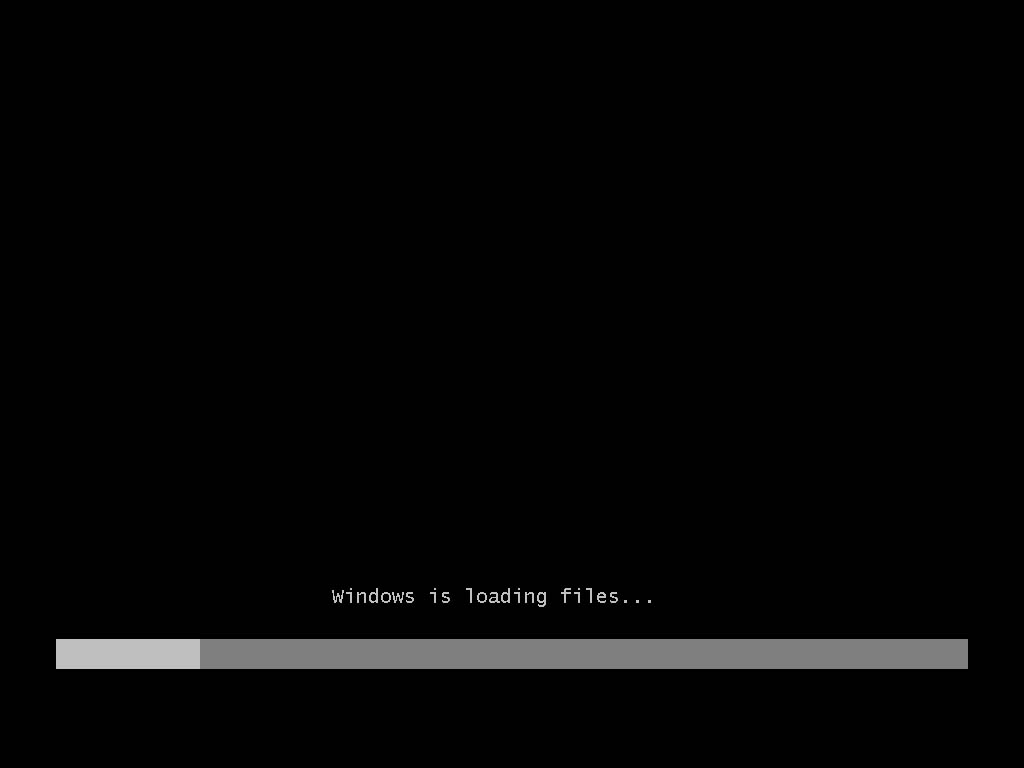
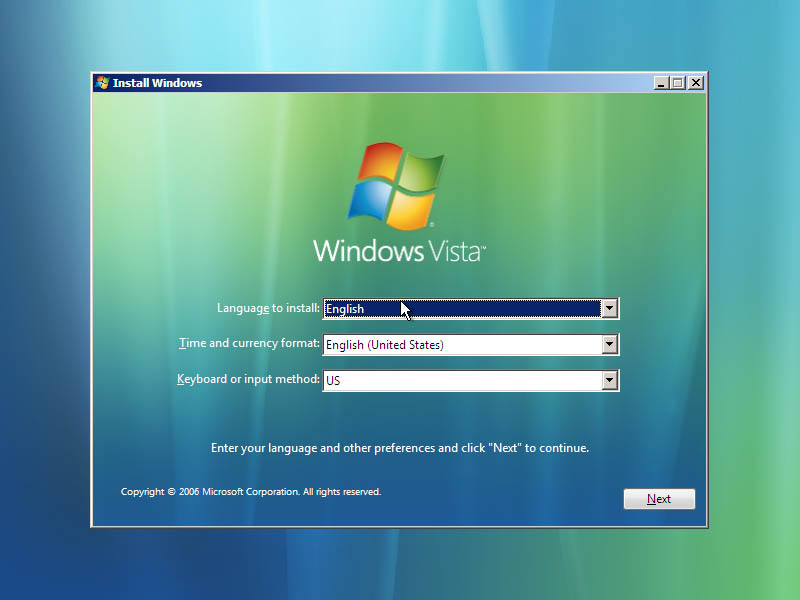
Now Select the language you would like to install your copy of Vista. Choose the correct Time and currency format and the keyboard or input method.
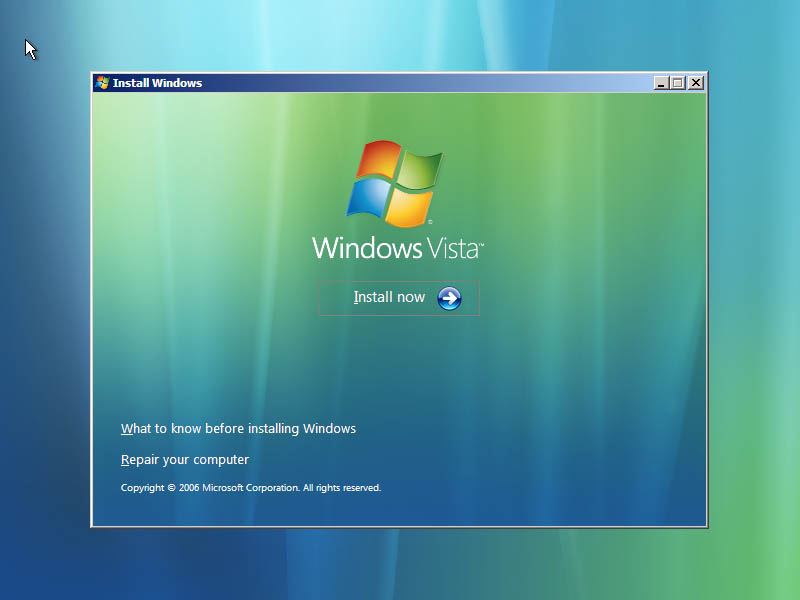
If you already have a copy of Windows Vista and want to repair it, you can choose to do this by clicking on Repair your Computer. For everyone else who wants to continue installing Windows Vista, just click on Install Now.
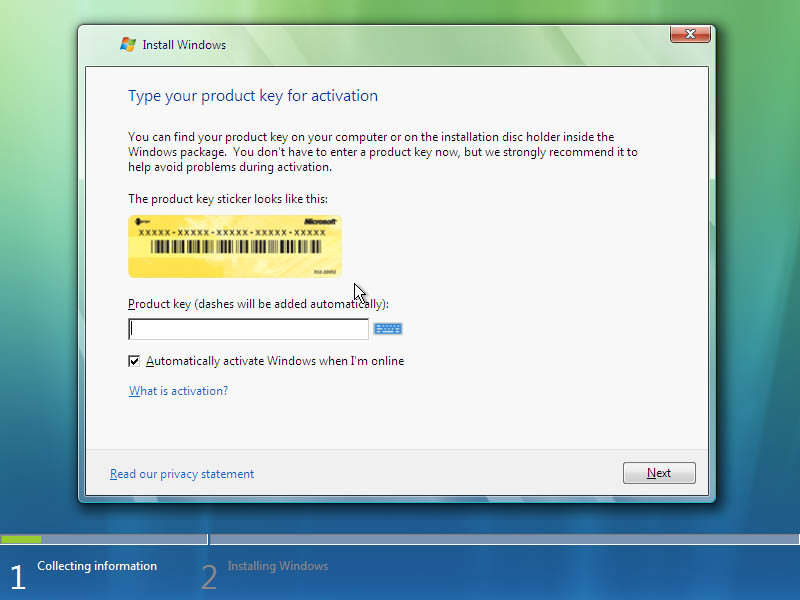
Enter your product code, now you don't have to add any dashes, they will automatically be added, you can choose to automatically activate Windows when you are online, or if you wish to do this at another time, uncheck the check box.
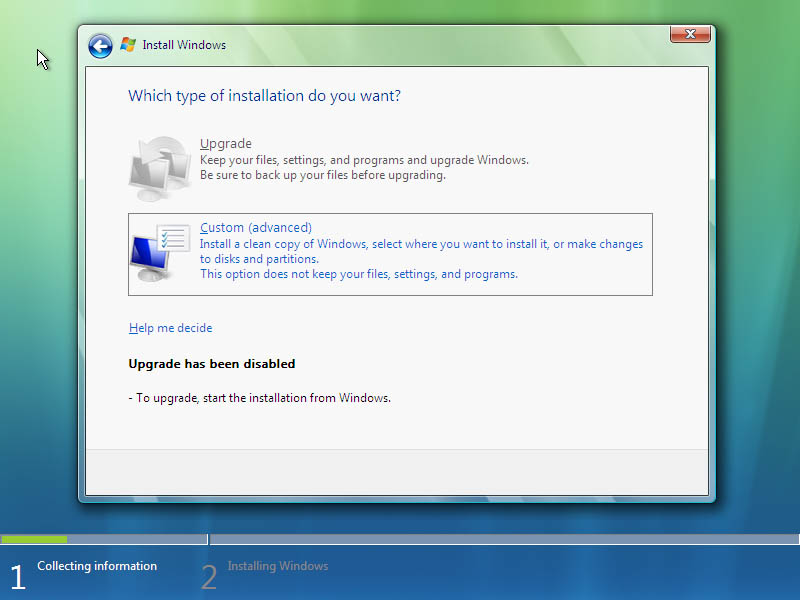
The next part below allows you to choose whether you wish to upgrade your installation, such as from Windows XP or if you would like to install a new copy of Vista onto the PC. The upgrade option below has been disabled as the copy is a beta version, however in the versions out now, you will be able to upgrade your operating systems if you choose so.
Next you will see that files are being copied, this may take a bit of time, however the Windows Vista installation should run quicker than previous versions of Windows so it should not be too long.
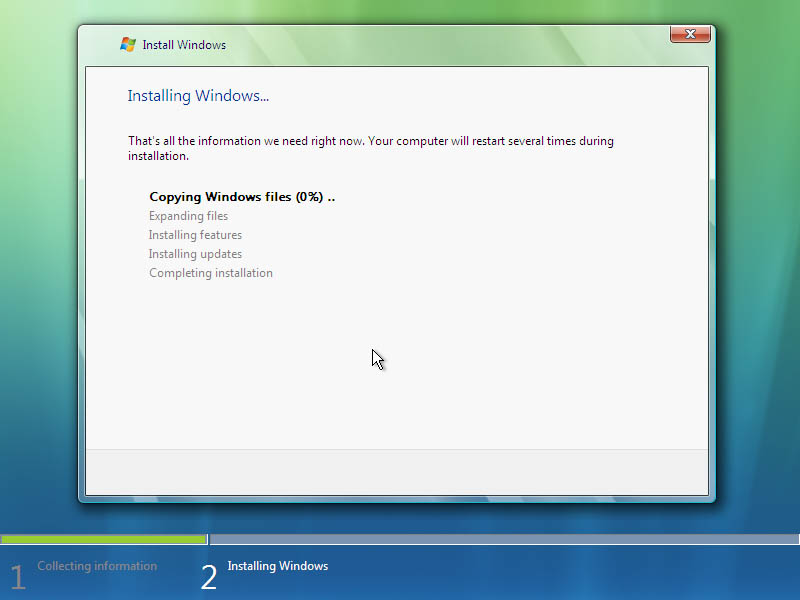
You should see that the installation has progressed with some green ticks.

Once this part of the installation has finished, the system will restart, just let it continue and it will continue the installation when it boots up.
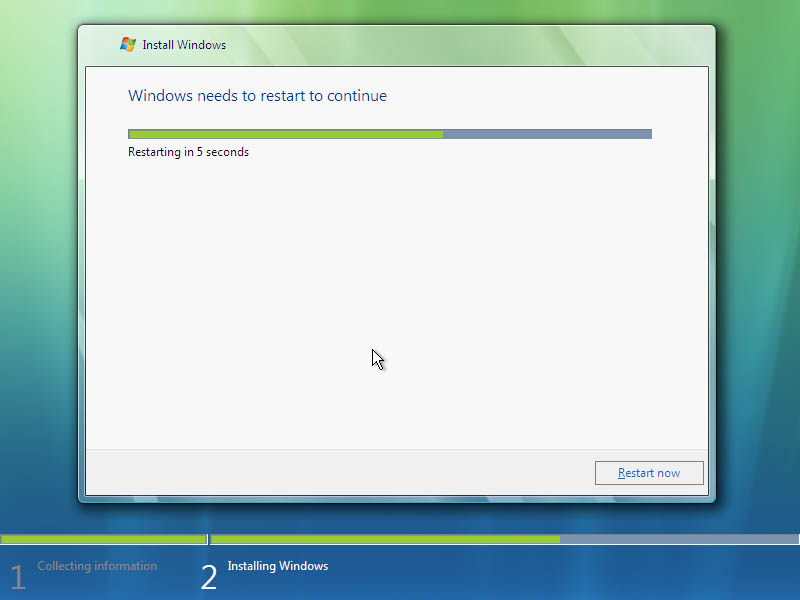
You will see the following window, this should not take too long.
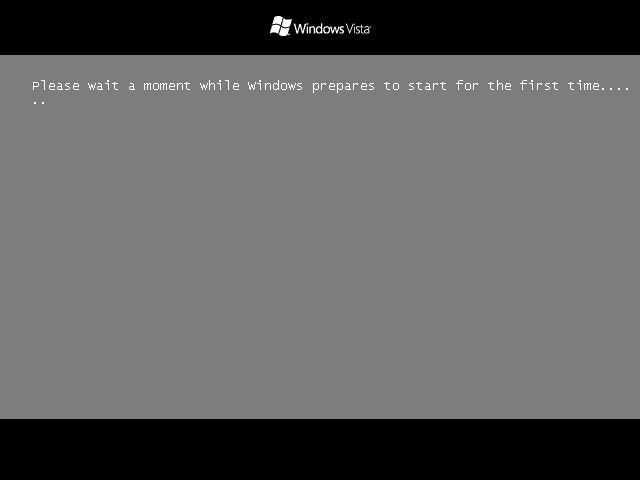
You should now be able to see that the installation is completing and the setup section will follow on.

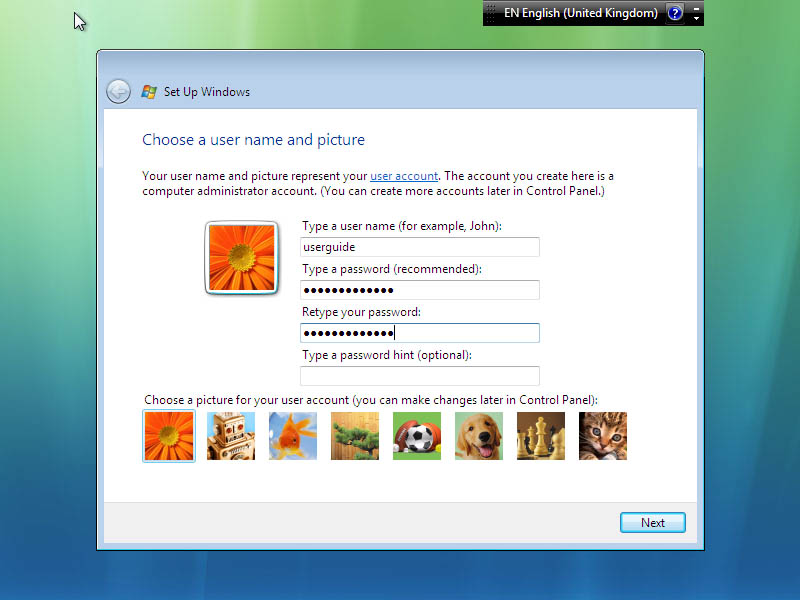
You will need to type in a username and password, this is so that your computer will stay secure from anyone gaining access to your desktop, etc. Make sure the password is not a word from the dictionary or a name as these are not the most secure passwords, a combination of numbers and letters plus special characters are recommended for passwords.
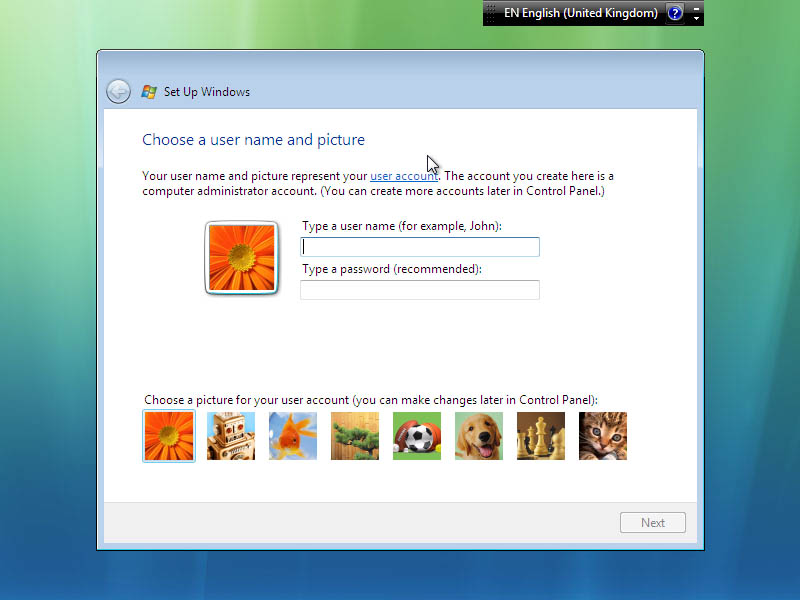
Once you have filled in this information, click Next.
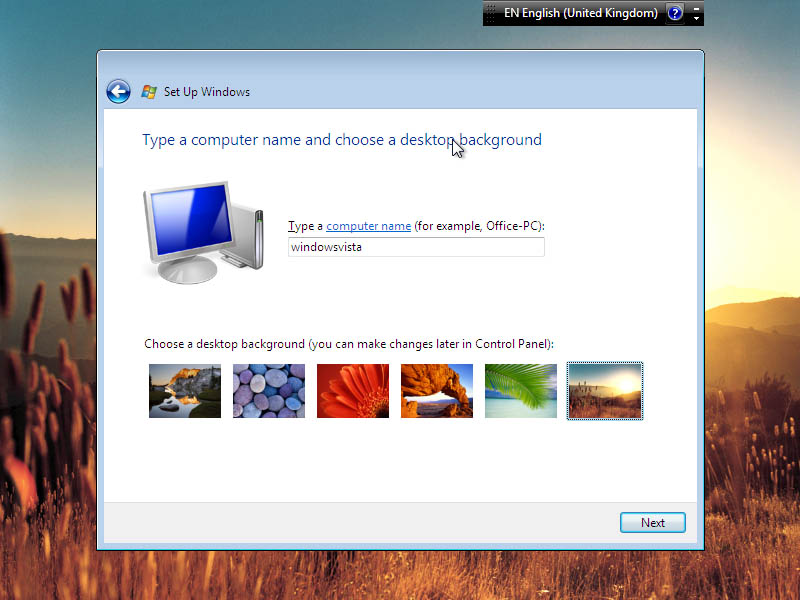
You will also need to type in a computer name, this is for network identification.
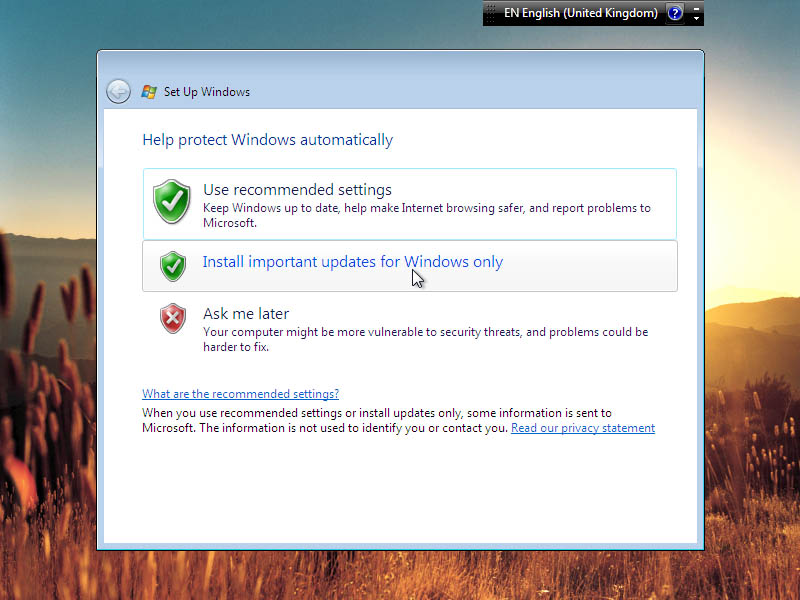
The next section is for updating your copy of Windows to have the latest security and bug fixes as well as the latest drivers for your hardware, it is recommended to Install the important updates at this point, however it is not necessary - Click Use recommended settings to install updates now as well as keep the computer up to date in the future.
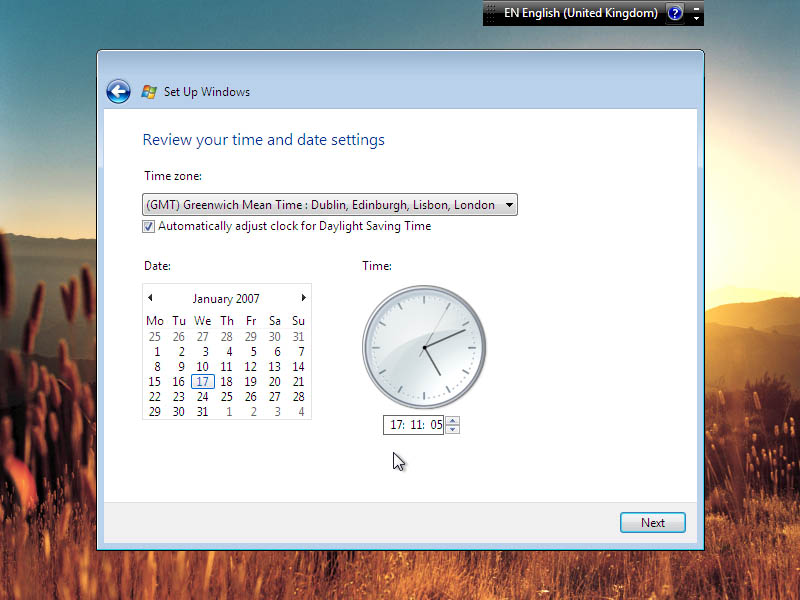
Now enter your time and date settings and click Next.
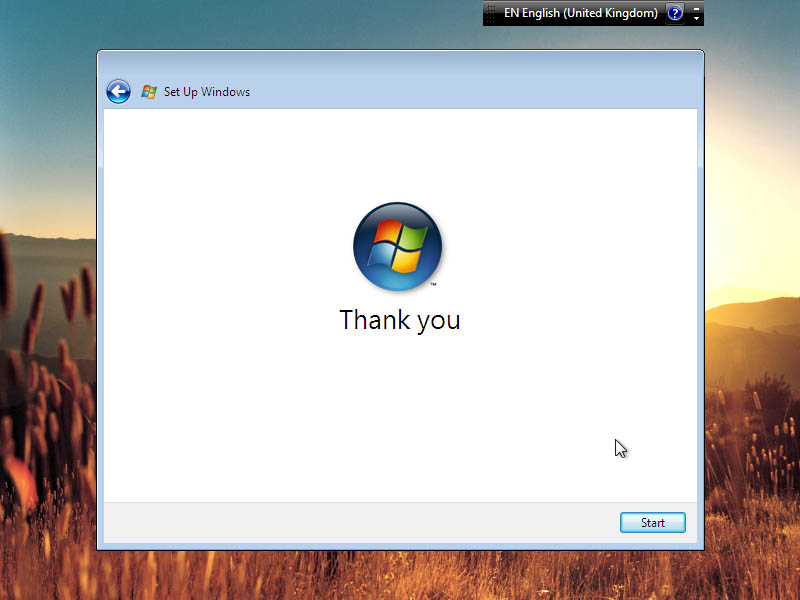
Now your settings are finished, click Next to log in to Windows Vista!
You will need to wait a few more minutes for last minute installations to complete.
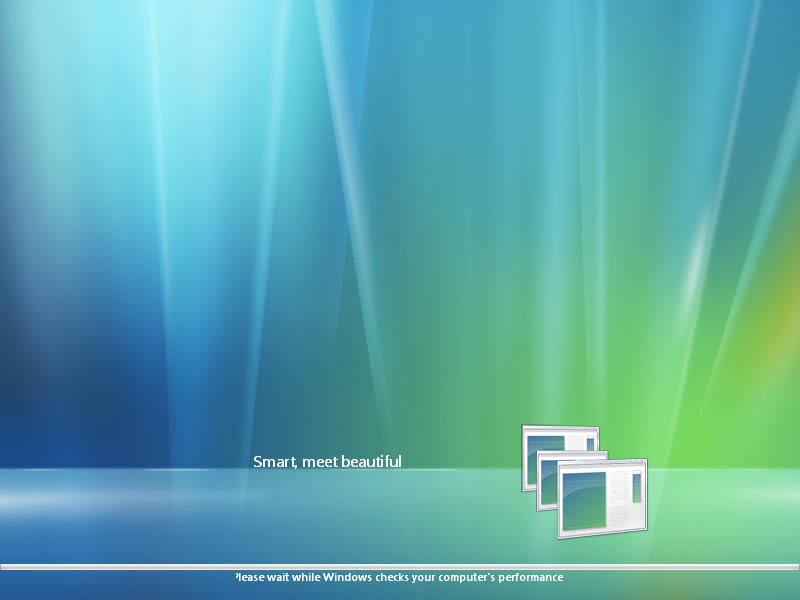
The screen may change a few times... until the log in screen.

Now type in your password here that you entered during set up.
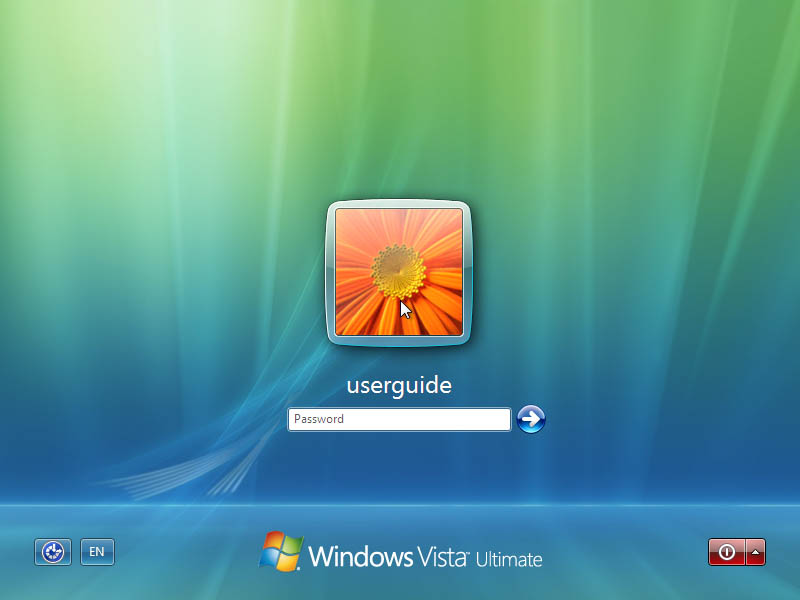
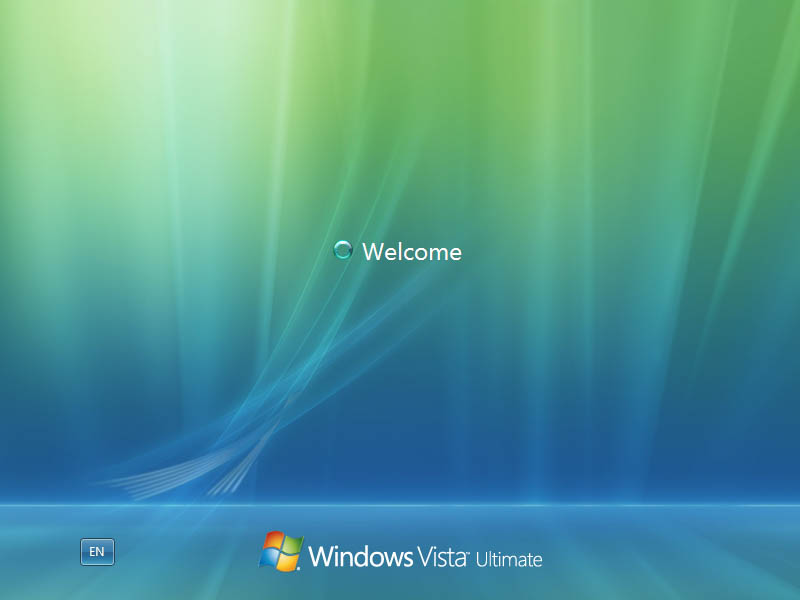
You should see Windows Vista logging in..
![]()